 Finished circuit drawed on the board
After drawing the circuit on the board, and the ink is let dry, the etching process is implemented. What is etching? Etching is the process of creating an image on metal or other surfaces by means of an acid. Remember to wear gloves when doing this process as it involves highly acidic materials.

Chemical used as the acid
 Etching process 1
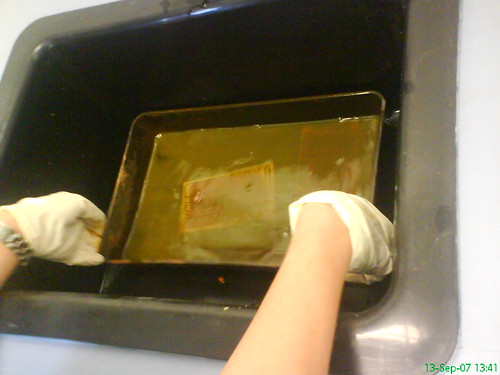 Etching process 2
While the board is inside the acidic liquid, the tray is to be shake constantly to remove the unwanted layer of copper until the circuit design can be seen clearly. After etching process, the circuit connection lines which are covered with the permanent marker can be observed clearly. The board should be dry completely and then remove the permanent marker layer and the copper connections in the circuit can then be seen.

Before Etching
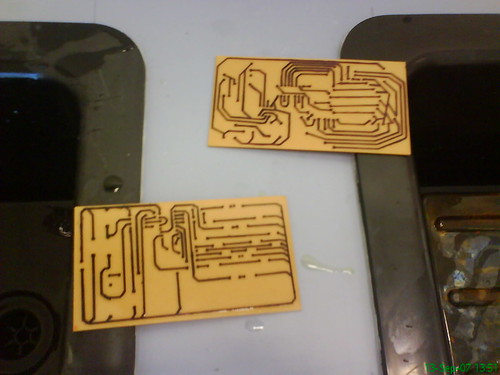
After Etching
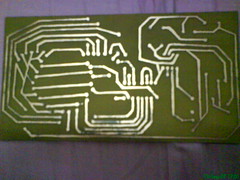
After removing the permanent marker
GO UP
No comments:
Post a Comment